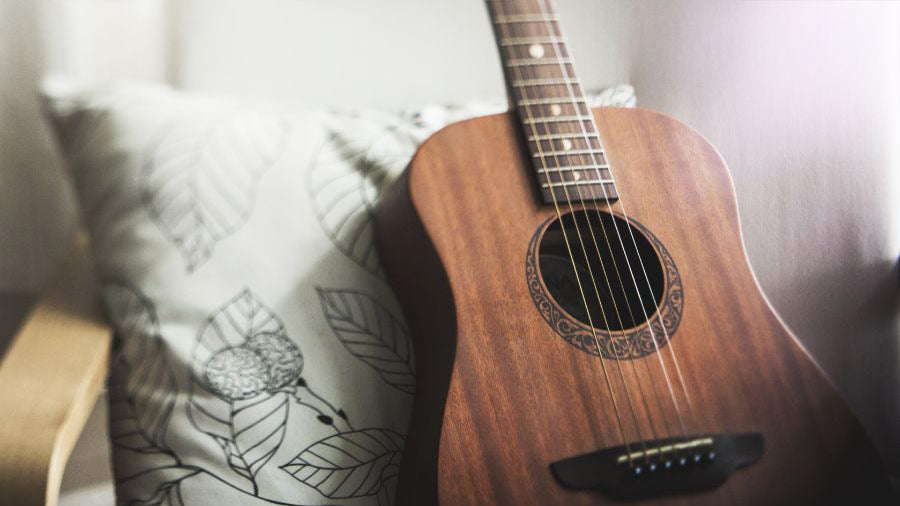
I recently stumbled upon a hidden gem at a car boot sale when I found this guitar. I asked the owner how much he was selling it for and as it was in a bad condition, he decided to give it to me for free. I then set out to restore the old broken guitar. The guitar had certainly seen better days, with missing wood, cracks, scratches, rusty pegs and being in a non-playable condition. I transformed it into a playable instrument which hopefully will help you do the same with yours!
Health and safety disclaimer
This restoration process is for informational purposes only and involves tools and techniques that can be dangerous. Do not attempt unless you are qualified, experienced, and use proper safety gear. Any attempts are at your own risk, and we are not responsible for any harm or damage. Always seek professional assistance if unsure.
Assess the Damage
The first challenge was acknowledging the extent of the damage. From missing wood supporting the neck to cracks and scratches, this guitar had its fair share of issues. The bridge, responsible for string placement, was also visibly damaged. While acknowledging the imperfections, I wondered if this would turn out to be a blessing or a curse.
Cleaning to remove dirt
Before diving into the intricate repairs, I decided to give the guitar a thorough cleaning. Warm, soapy water and an old toothbrush worked wonders in removing layers of dirt and dust, revealing a surprisingly improved appearance. For the stubborn spots, a careful application of sandpaper, accompanied by a touch of water to reduce scratches, helped restore the guitar's surface. If you have an expensive or valuable instrument, I would not recommend using sandpaper as it will scratch the instrument further.
Addressing the Missing Wood
The most noticeable flaw was a significant portion of missing wood crucial for supporting the neck. To address this, I employed a creative solution using jenga-like blocks glued together and attached them to the damaged area. The process required patience, precision, and a fair amount of clamping to ensure a secure bond. Sanding the blocks and painting with a guitar paint helped ensure that it looked better although the job wasn't perfect.
Replacing Component Parts
The restoration journey continued with the removal of damaged components, such as the guitar trim and saddle nut. Sharp edges posed a risk, so careful sanding was employed to ensure a smooth finish. I had to replace the full set of strings, pegs, and more.
Painting the guitar
The chosen paint, heritage cherry, matched the original colour but proved challenging to work with due to its aversion to water and being highly toxic. If you wish to paint your instrument you might need to sand it first to ensure that the paint adheres to the surface and you should paint it in a well ventilated area with the correct tools and safety equipment.
Adding Finishing Touches
With the replacement trim in place, additional sanding ensured a seamless blend with the rest of the guitar. Despite imperfections, the rustic appearance added character, narrating the instrument's journey through time. Finally, the strings were replaced, and the guitar underwent tuning, breathing new life into its sound. The instrument became playable but wasn't perfect and didn't hold its tune very well.
While the journey proved more challenging than anticipated, the satisfaction of reviving a neglected guitar made every hurdle worthwhile. After finalising the guitar it was donated. Watch the video for a detailed walkthrough of the restoration process and witness the transformation from a neglected piece to a revitalized musical instrument.